Creating Recordings for Online Delivery
This page includes some methods for creating recordings for online delivery.
- Zoom for Recording
- Canvas Media Recorder
- External Devices (Mobile Device, Webcam and Mic, Digital Cameras)
- Converting Files for Online Delivery
Zoom for Recording
Beyond synchronous web conferencing, Zoom can also be used to record yourself and your presentations even if no one else is connected to your meeting. This allows you to create simple video productions and telecommunicate using one tool.
- Account: See Web Conferencing with Zoom for details about accessing your account.
- Connect Headset/Webcam First: Refer to the Web Conferencing with Zoom page for help getting your speakers and microphone set up for a Zoom session.
- Access Alternatives: You can access Zoom through Canvas, by going to the Zoom website, or by using the Zoom plug-ins available for Firefox or Outlook. Zoom is also available as an app on Android and iOS devices.
- Sign in: Sign in to Zoom (see Sign in to Your Zoom for Western Account).
- Start a Meeting: Select Host a Meeting in the upper right of the web browser.

- Start a Meeting: Select Host a Meeting in the upper right of the web browser.
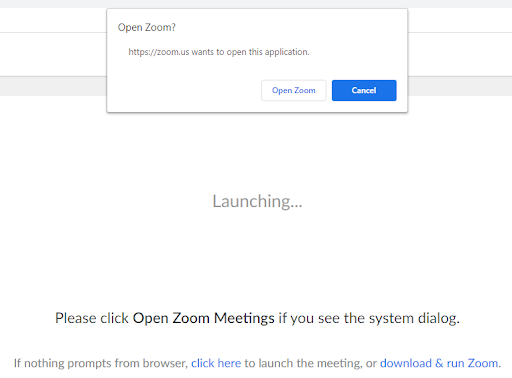
- Open Zoom/Download App: Zoom Meetings do not run purely in a browser, and require an app to run. The first time you initiate a Zoom meeting it will prompt you to download the app. This may happen automatically when you select Open Zoom.
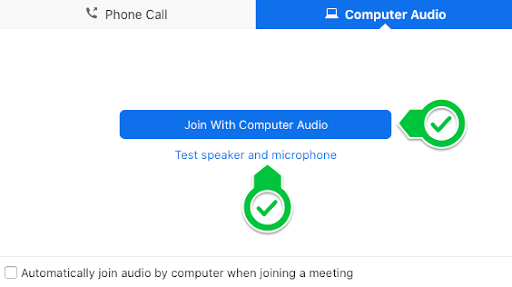
- Computer Audio: Select Join With Computer Audio and test your speaker/microphone.
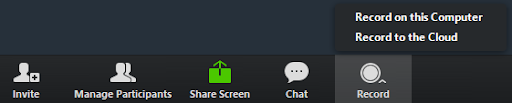
- Record: To record, click on the Record button located in the control bar at the bottom of the screen and choose whether you want to record to the local computer or to the cloud. Note: Depending on how you have Zoom setup the control bar may also be located at the top of the screen.
- Cloud Recording (recommended): This setting will prompt Zoom to save the recording to the Zoom website for storage and sharing via a link. Once the recording has been stopped, the recording must be processed before viewing and will include a transcription. Zoom will send an email to your email address when the process is completed. See the “Settings for Sharing” section of Zoom’s Managing Cloud Recordings page.
- Computer Recording: This setting will prompt Zoom to save the recording onto your computer or laptop. Note that separate computer recordings can be controlled by each host/co-host or even participants and saved on each user’s computer. See Zoom’s instructions for Local Recordings. For details on sharing the recording, see your options in WWU’s Panopto Video Management system.
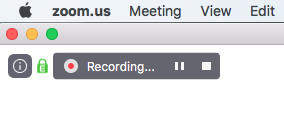
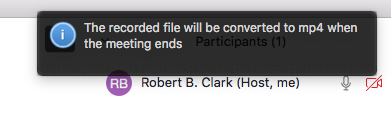
- Verify You Are Recording: Once the recording starts, you will see the following indicator in the upper left corner of your Zoom meeting screen. Here you can pause and stop the recording manually, but Zoom will also end the recording when you end the session.
- Stop the recording and Save. After you end the meeting, you will need to wait for the video to process. This may take about 5 minutes if you record a 60 minute meeting. If set to record to computer, Zoom will automatically save your video to a folder titled Zoom in your documents folder. If set to record to cloud, the recording will be on the Zoom website in your account, available via link for sharing. When the Zoom cloud recording is finished processing, you should get an email that it is available.
- Computer Recording: As you end the meeting, you will see this notice.
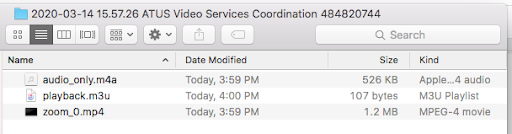
When it is finished rendering, the following window will open with several files:- m4a: An audio only version possibly small enough to send via email.
- m3u: Disregard; not used in educational settings.
- .mp4: A audio/video file type that can be edited in editing software such as Adobe Premiere, iMovie, etc. or uploaded to cloud services to share.
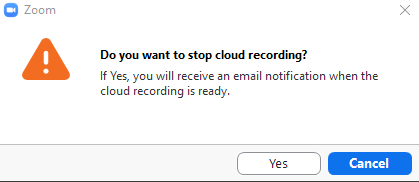
- Cloud Recording: As you end the meeting, you will see this notice:
- Computer Recording: As you end the meeting, you will see this notice.
- Share Recording: For details on sharing the recording link, see your options in WWU’s Panopto Video Management system.
Canvas Media Recorder
We do not recommend using Canvas for anything other than short video (5 minutes or less) that can be used for feedback and comments as it impacts the storage quota of your Canvas class and can be less effective for people with slower connection speeds trying to view the content. For longer videos please use Panopto.
Within SpeedGrader in Canvas you are able to access the Canvas Media Recorder. This allows you to place an audio or video comment as feedback for an assignment. It can also be accessed from any rich text editor in Canvas.
- How do I record a video using the Rich Content Editor as an instructor?
- How do I leave feedback comments for student submissions in SpeedGrader?
Accessing the Media Recorder in SpeedGrader
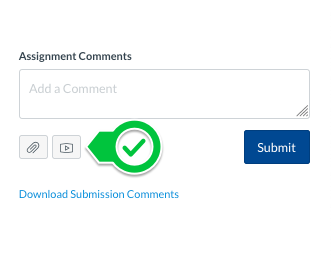
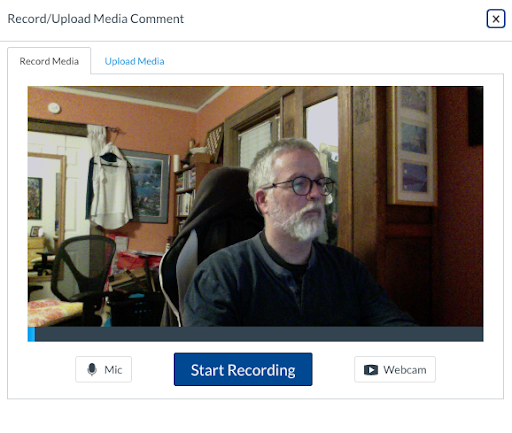
- Access Recorder: While grading work in SpeedGrader and using the Assignment Comments in the right column, click the play arrow icon to access Media Recorder.
- Record: If your computer prompts you to allow access to your recording device/mic, allow this. If you did not connect a webcam or mic first, you may need to connect these first and access SpeedGrader again. Click Start Recording, review your recording, and either discard it or save it when you are ready to post it as a comment.
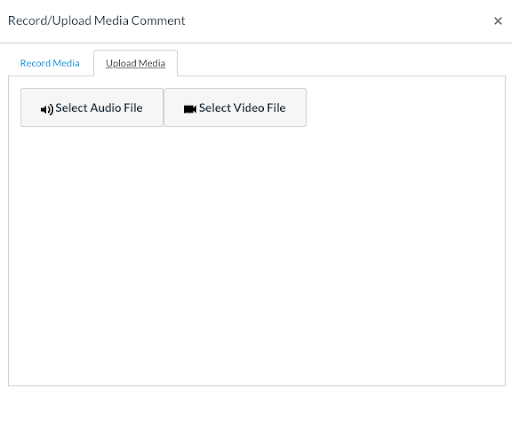
- Upload Option: You can also import an audio or video file by using the upload media tab. Canvas Media Recorder uses your available Canvas storage for the media file therefore we recommend it only be used for short commentary and feedback.
External Devices
There are many different devices capable of recording video including smartphones, DSLR cameras, digital point-and-shoot cameras, and camcorders. It is very likely that you and your students have at least a few of these handy. You can also record video on your computer using a webcam, USB or Bluetooth mic and an app like Windows Camera or Apple’s QuickTime Player (which also records.). Remember if you need to record something, sometimes you need to use whatever you have on hand.
- If you find you have a large video file and need to upload it to Canvas, see your options in WWU’s Panopto Video Management system.
Accessing the Media Recorder in SpeedGrader
If you or your students want to use one of these many alternative devices many of them are available at ATUS Classroom Services in HH114. Because there are so many possible permutations of this kind of equipment, we suggest calling ATUS Video Services (360-650-3302).
Converting Files for Online Delivery
Digital files are not created equal. They come in many different types and subtypes. When generating video files to upload to a sharing/streaming service such as Panopto or YouTube, we suggest trying to stick with the most compatible formats, such as MP4 files. Since not every device or application creates MP4 files, sometimes there is a need to convert the files. Fortunately, there are free software programs like Handbrake which can convert any of these files into standard MP4 files.
Remember, Canvas has limited space for large files. We recommend uploading video to Panopto and sharing videos in Canvas via a link or embed on a page.
If you have files that need to be converted, please call ATUS Video Services for more information.