Opting in to Move Zoom Cloud Recordings to Panopto
Your academic Zoom Cloud recordings can now be automatically migrated to your account in Panopto. Once recordings are stored in Panopto, they can be shared, edited, captioned automatically, and much more. In addition, you can easily connect to your Panopto recordings in Canvas. For instance, if you select a Panopto folder that is already utilized by a specific course to point your Zoom recordings to, those recordings will automatically appear in the Panopto folder, be captioned, and be viewable by your students--no further steps!
Notes
- New Sessions Only: This automatic process only applies to new sessions recorded to Zoom Cloud. Shortly after recording, a Zoom session recorded to the cloud will be moved to a folder in your Panopto account. Once transferred to Panopto, your migrated sessions in Zoom will be moved to the Zoom trash. Sessions recorded to Zoom Cloud prior to opting in will not be affected.
- Processing Time: Automatic migration of your cloud recordings from Zoom to Panopto may take less than an hour or up to 96 hours to complete, depending on the length of the videos and the processing queue.
- Destination Folder: By opting in, your new Zoom cloud recordings will be moved to a “Meetings Recordings” folder within your “My Folder” in Panopto. See instructions below for how to customize this or map specific Zoom IDs to specific Panopto folders.
Log In to Panopto
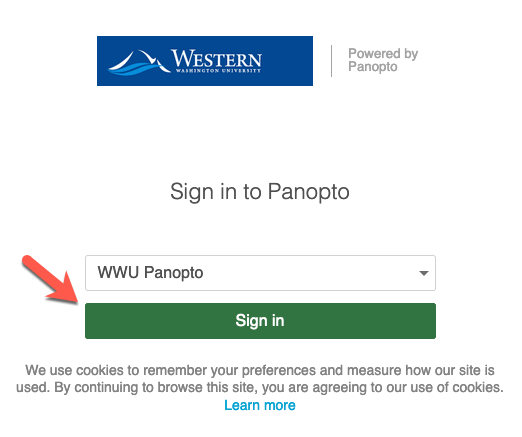
- First, navigate to the Panopto login page for Western:
https://wwu.hosted.panopto.com - Click “Sign in.”
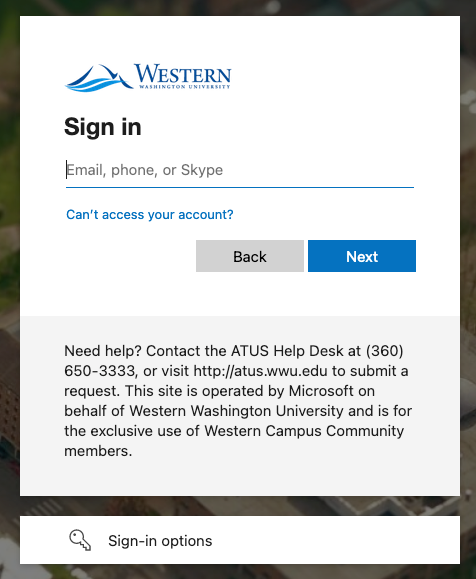
- Log in using your WWU universal ID credentials (username@wwu.edu) and password):
Update User Settings to Opt In
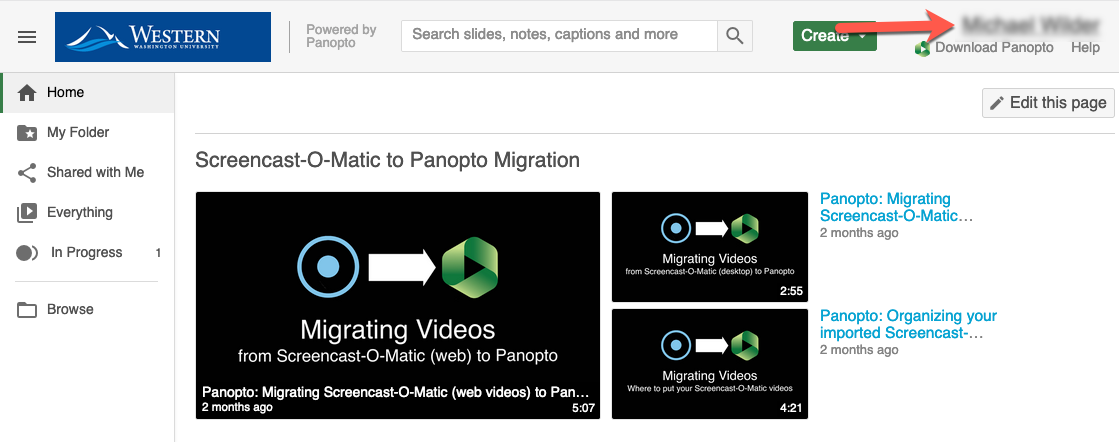
- Once you have logged in, click your name in the upper right-hand corner:
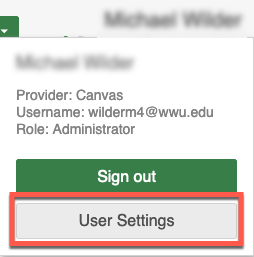
- From the subsequent pop-up window, click “User Settings.
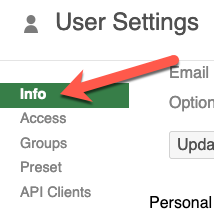
- If it hasn’t already been selected, click the “Info” item:
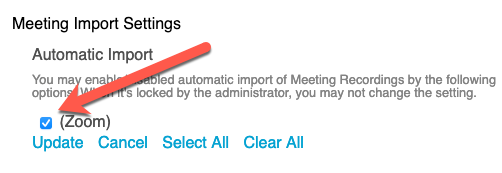
- Scroll down to “Meeting Import Settings” and click to select the “(Zoom)” checkbox.
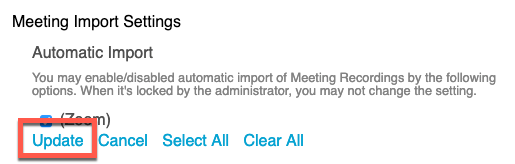
- Click “Update” to enable automatic import of your meeting recordings to Panopto. This completes the opting in process.
What To Expect
When your next Zoom recording is completed, within 1-96 hours, your Zoom cloud recordings will be moved to a “Meetings Recordings” folder within your “My Folder” in Panopto. This location is easy to find and connect to any of your courses; however, you may customize the folder location where Panopto puts these videos or move the videos to suit your needs. See below for further instructions for customizing this location.
See also:
- Panopto: Setting Availability
- Panopto: Sharing Your Video Library with Individuals or a Class
- Panopto: Sharing Your Videos Using Linking or Embedding
- Panopto: Organizing Videos
- Panopto: Bulk Moving Videos
- Panopto: Playlists
- See more: Instructional Design Video Library
Update User Settings to Change Recordings Folder (Optional)
If you find you need to organize your videos into a different folder, be sure the folder is already created. To create a new destination folder, review How to Create a New Folder.
NOTE: When Panopto Video is enabled in a Canvas course, a Panopto video is automatically generated that gives students viewing access to that folder. Use that specific folder if mapping a Zoom ID to a particular course.
Customize Destination of All Zoom Recordings to a Different Folder
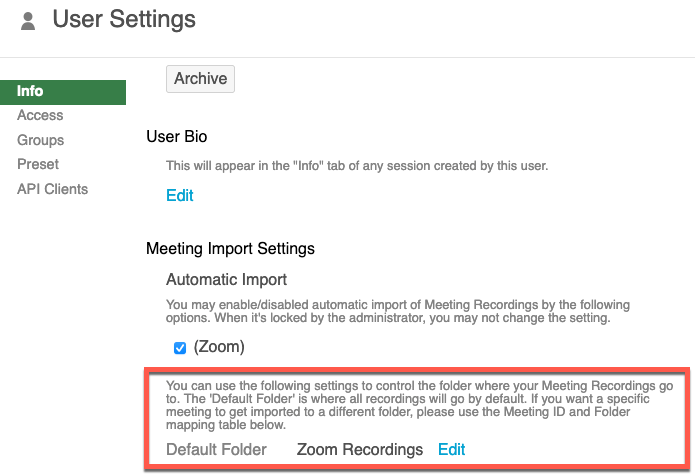
In User Settings > Info, after updating the import settings (above), a new option will appear under “Meeting Import Settings.” Select Edit to change the folder destination for Recordings and navigate or search to select your preferred folder.
Click Edit to change the folder. If you don't see the desired folder, start typing a few letters of the folder name to see choices appear.
Select Save.
Map Destination of Select Zoom Recordings to Specific Folders
- In Panopto, go to User Settings > Info after updating the import settings (above).
- Under “Meeting Import Settings,” Select Add New.
- Copy the 9-digit meeting ID from Zoom for your Zoom meeting and paste it in the first box.
- Follow instructions above to find the specific folder where you want the recordings from that Zoom meeting to be saved.
- Save and repeat for different classes/meetings.
Note that any unmapped Zoom meetings that are recorded will also be moved to the default folder or custom folder indicated in settings.
Map Destination of Specific Zoom Recordings to a Specific/Canvas Folder
For a detailed description of how to map your Zoom meetings to a folder in Panopto so that they can become available to students in Canvas, watch this video: Zoom: Moving Zoom Recordings to Canvas Automatically (via Panopto)