How to Install Adobe Creative Cloud Apps through Named User Licensing
Named User licensing is a method of licensing you to use Adobe Creative Cloud that is tied to your WWU email address. It authorizes you to use Adobe's Creative Cloud suite on up to two computers. You can request this authorization through Software Services by completing a WWU Faculty/Staff Software Request Form. Details and pricing information can be found on our Software Services Catalog page. This article will describe the initial setup process after you have been granted a named user license for your work computer. You will receive an email from Software Services with your license confirmation.
Installing Adobe Creative Cloud
- Close all Office programs (e.g. Outlook, Excel, Work, etc.).
- Download the Creative Cloud Desktop app Directly from Adobe.
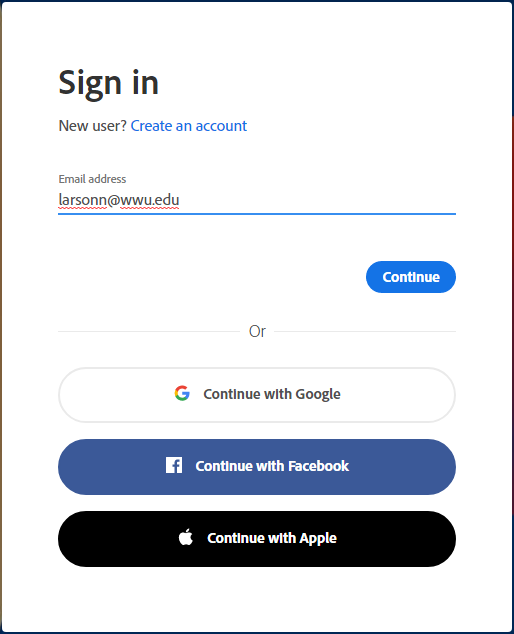
- Click Sign in.

- Sign in using your primary WWU email address (username@wwu.edu, not First.Last@wwu.edu).
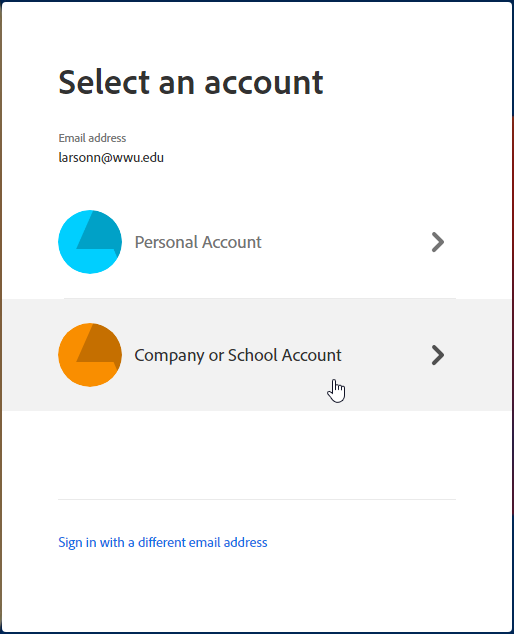
- When prompted to "Select an account", choose Company or School Account.
- Your Western Single Sign Credentials will be verified. If prompted for a login and password, use your Western email (e.g. username@wwu.edu) and universal password.
- Once signed in, click Download.

- The Creative Cloud Desktop app installer will download. Once completed, click on the installer file to run.
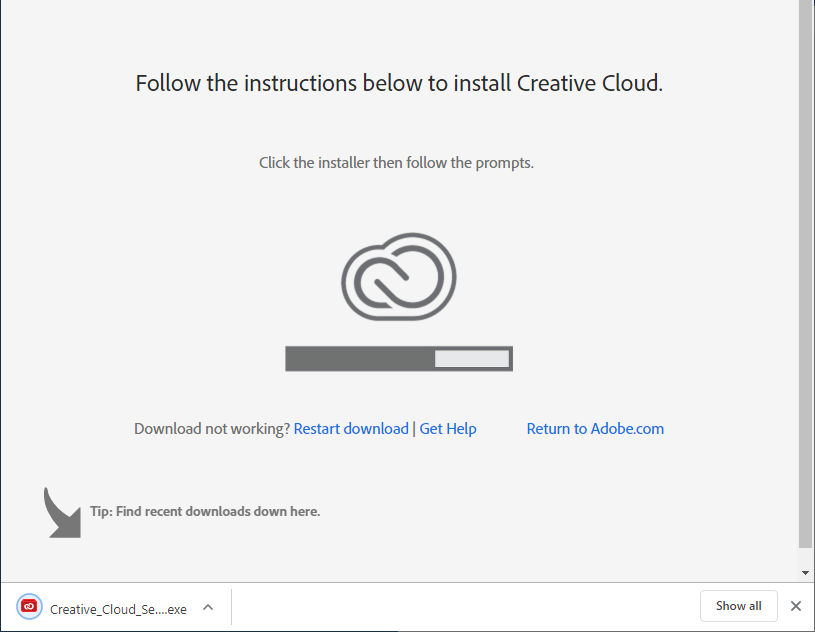
- The installer will start. Click Continue to begin.
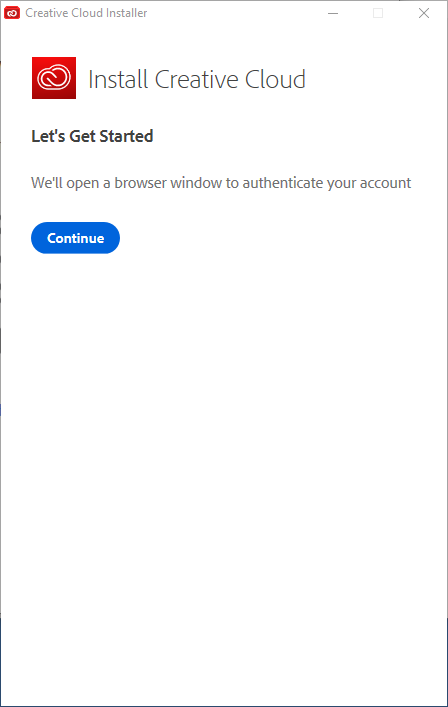
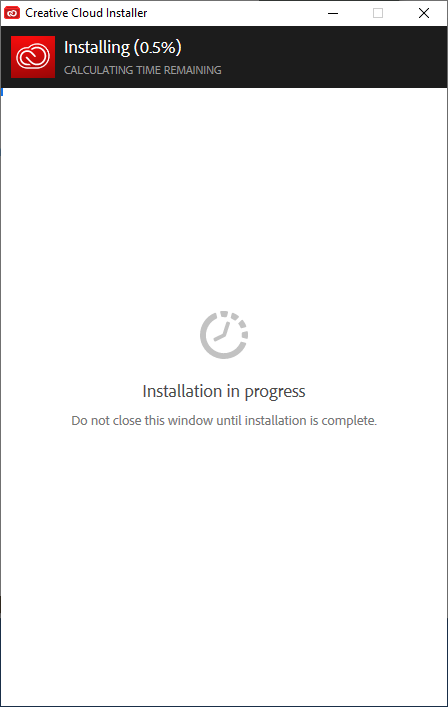
- The Creative Cloud Installer will start installing.
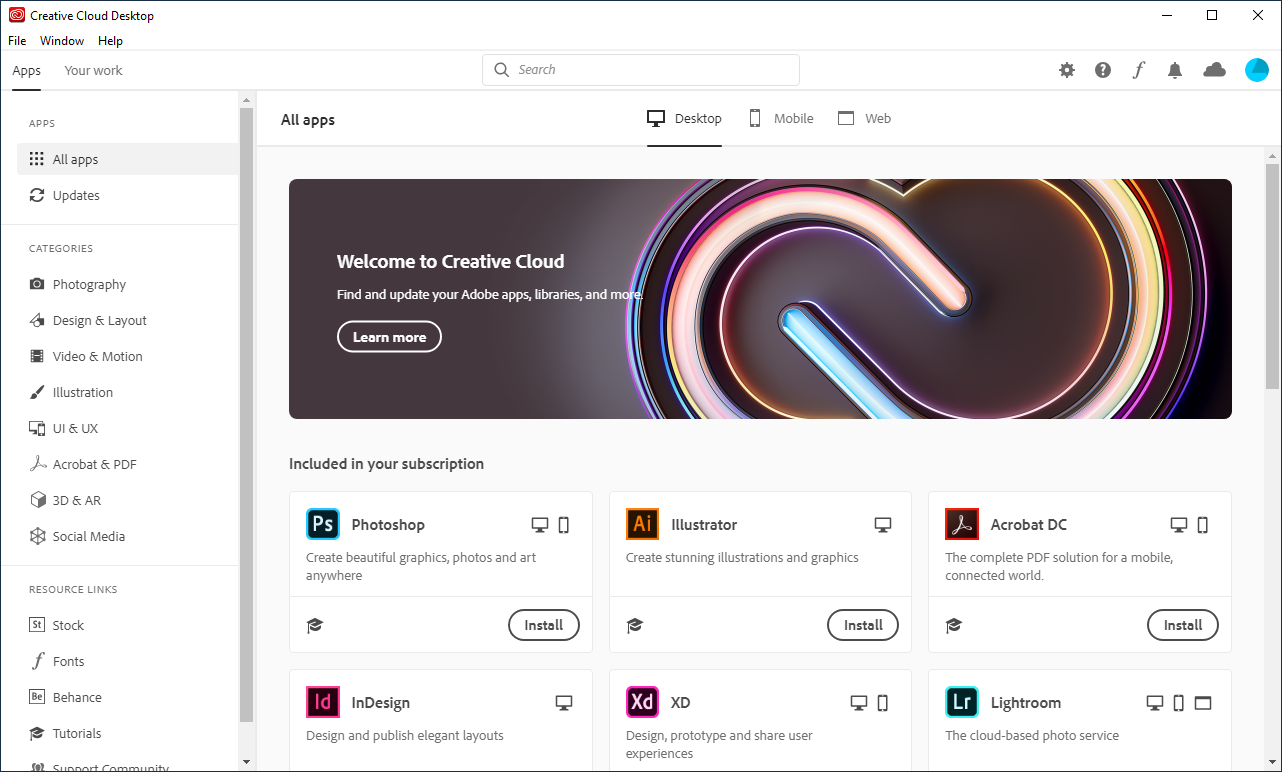
- Once the Desktop app is installed, you will see all the apps available to install.
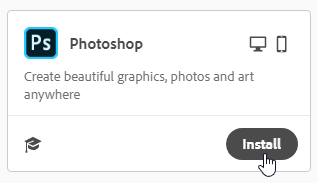
- Click the Install button to begin installing the app.
- If you don't see an app, look in a different app type.

NOTE: The actual Adobe Creative Cloud apps, such as Photoshop and InDesign, are very large and will take much longer to download and install than the Creative Cloud App itself. Make sure you have enough disk space and time before you start the installation process and consider only downloading what you need.


